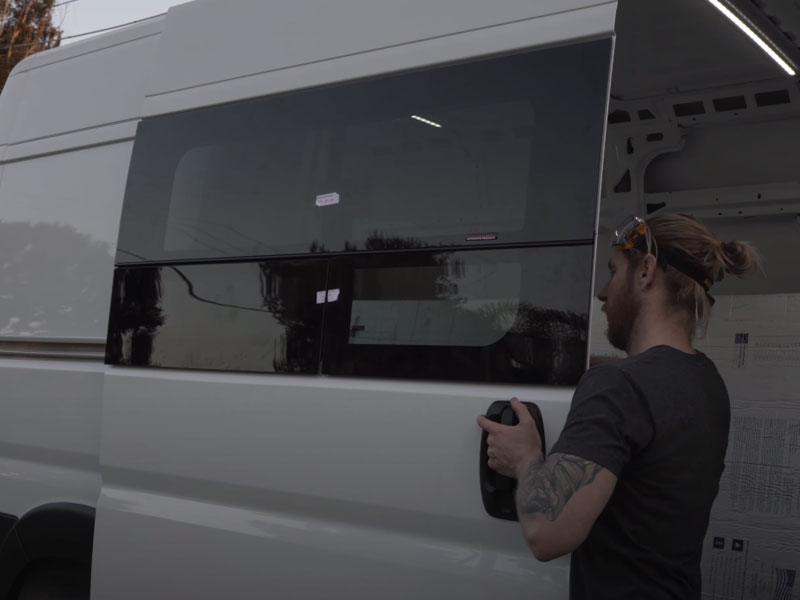
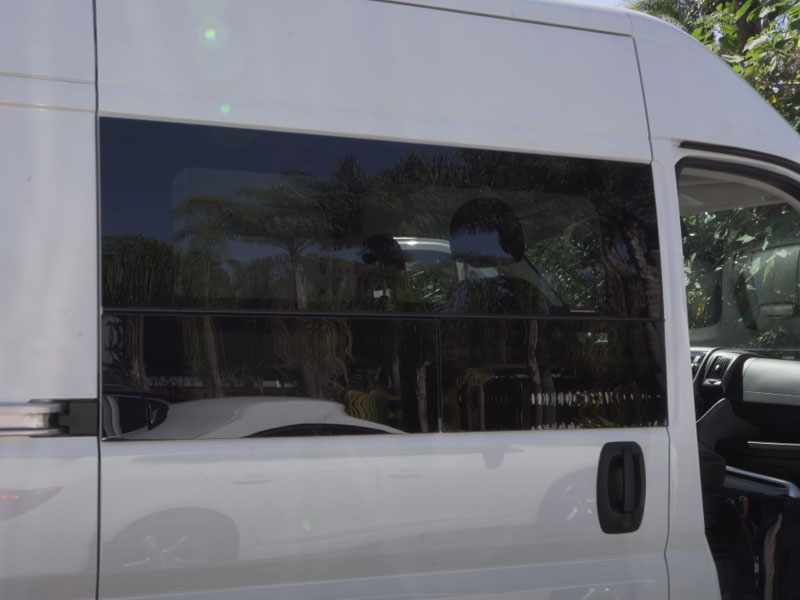
In this article I cover the installation of a CR Laurence window for my ProMaster passenger sliding cargo door. I absolutely love the look of these windows, but I really wish CR Laurence would include a template with these windows so you can be a little more confident with your cuts.
If you’re installing this window, measure 1000 times, cut once. After all the measuring and convincing yourself that putting a giant hole in your van is a good decision, cutting the hole and fitting the window is a breeze, just take your time.
Materials/Tools Required
C.R. Laurence FW3965R Promaster Passengers Sliding Door Window
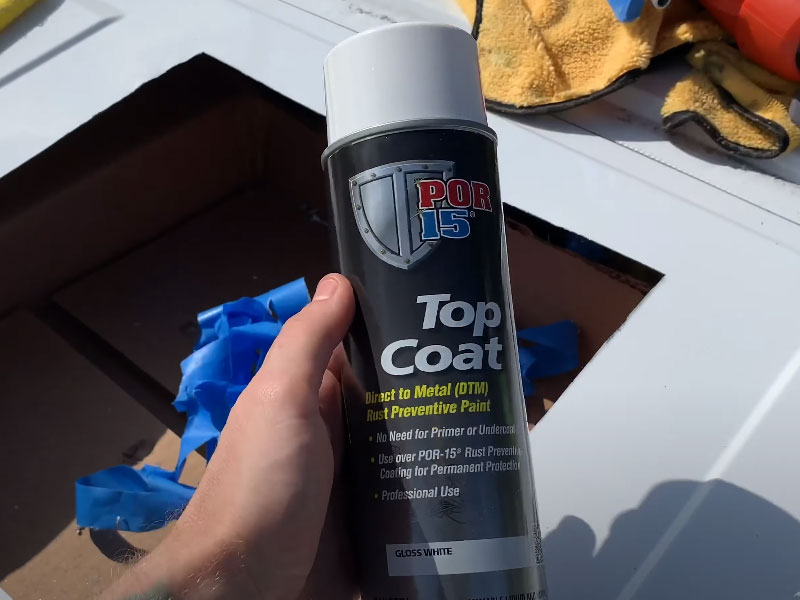
Por 15 Top Coat Spray Paint
Bosch T118G Jigsaw Blades
Driver Drill
Foam Brushes
Simple Green Cleaner
Safety Goggles
ProMaster CR Laurence Window Installation Steps
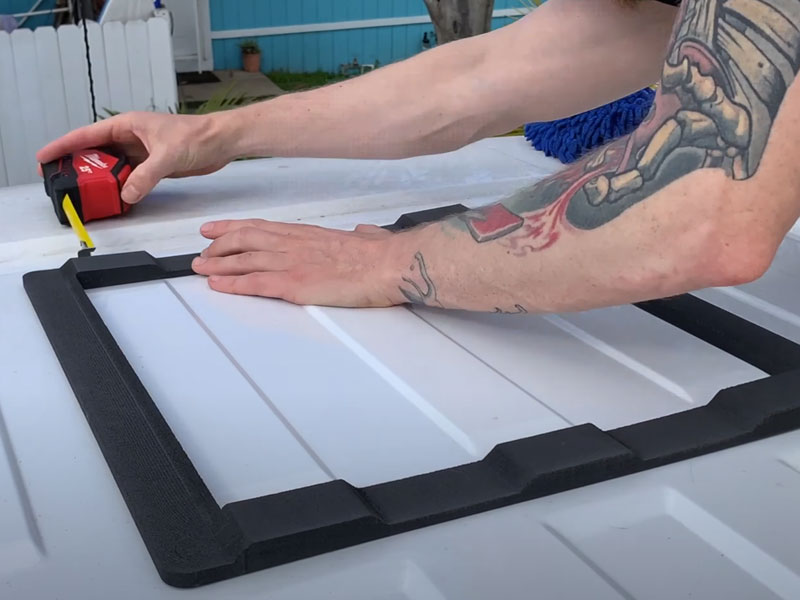
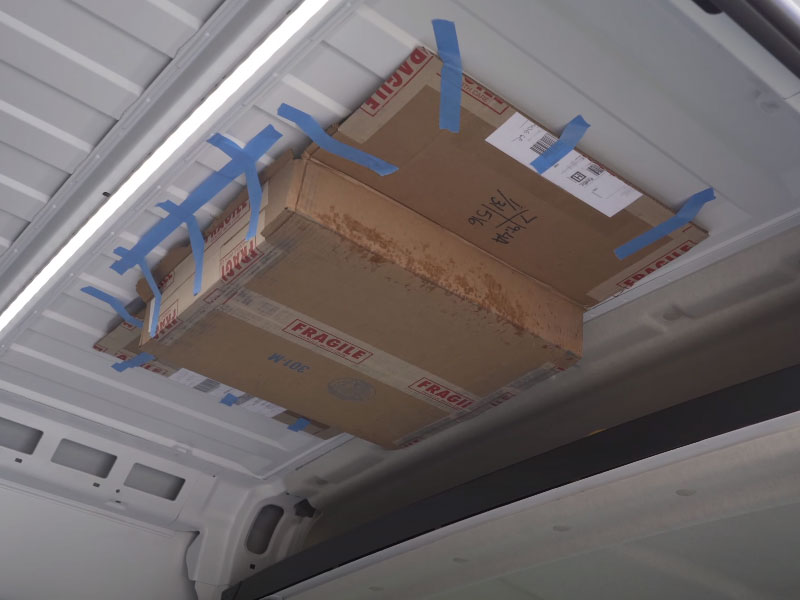
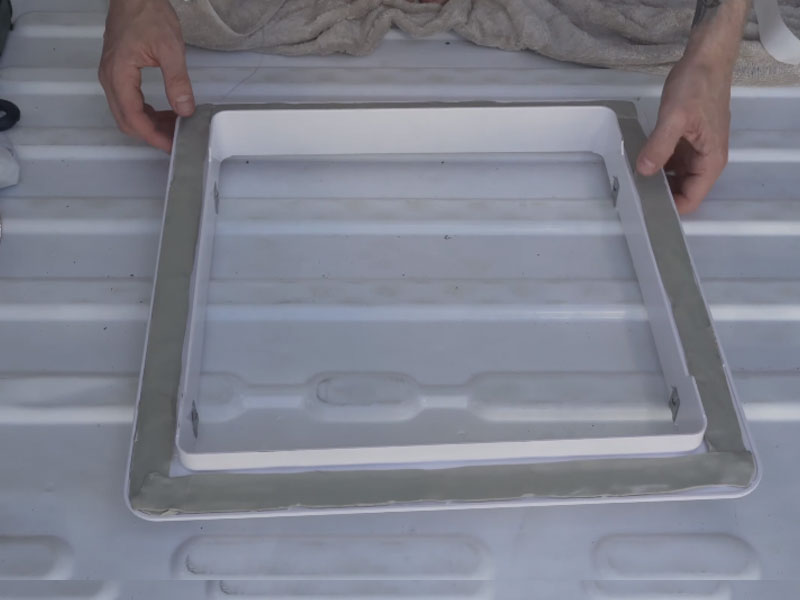
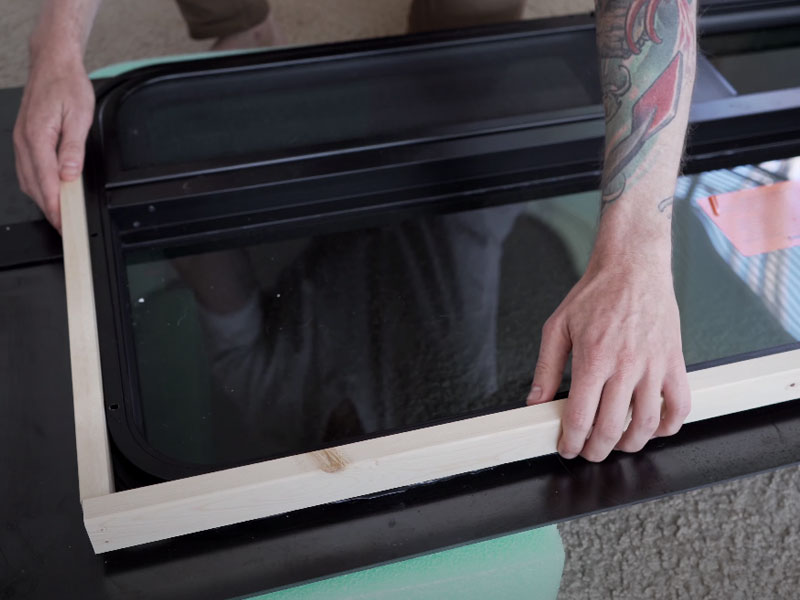
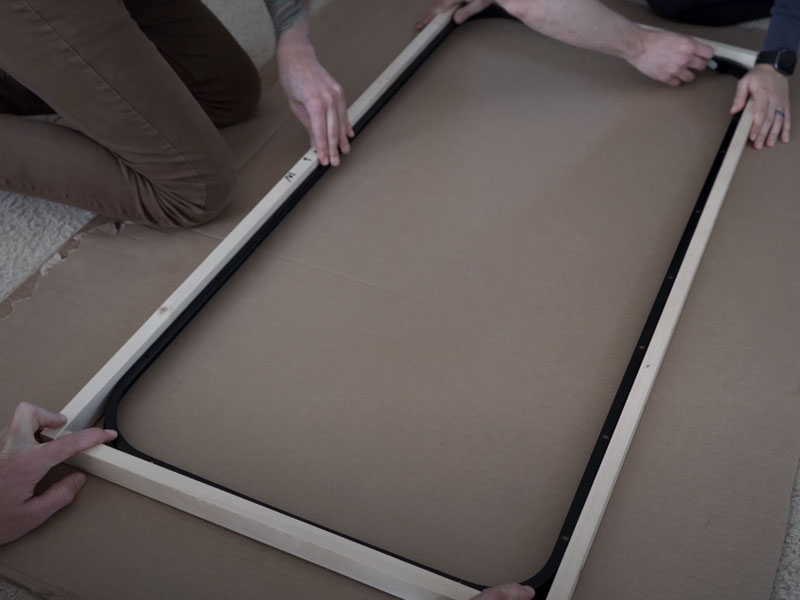
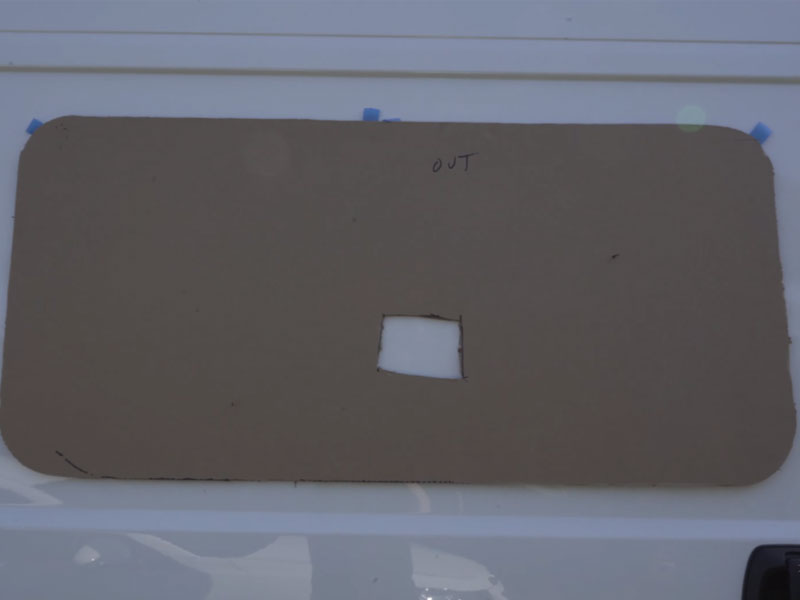
1] Create a template for cutting out the hole. Use the cardboard from the box the window came in. In the video, I show one way, which is to use the frame and trace on the inside onto the cardboard. It helps to create a frame with 1×2’s, or have several people holding the metal frame, so that it doesn’t move at all.

Another way to create a template is to get some brown kraft paper and cut it roughly the same size as the cutout. Put the window on the ground, with the frame sticking up towards you. Place the brown paper on it (you will need to cut a hole where the vent lock adjustment is), and then basically color around the entire frame using a pencil. You should end up with a thicker/dark line around the edge, you can cut the paper out from here and trace that onto a piece of cardboard.
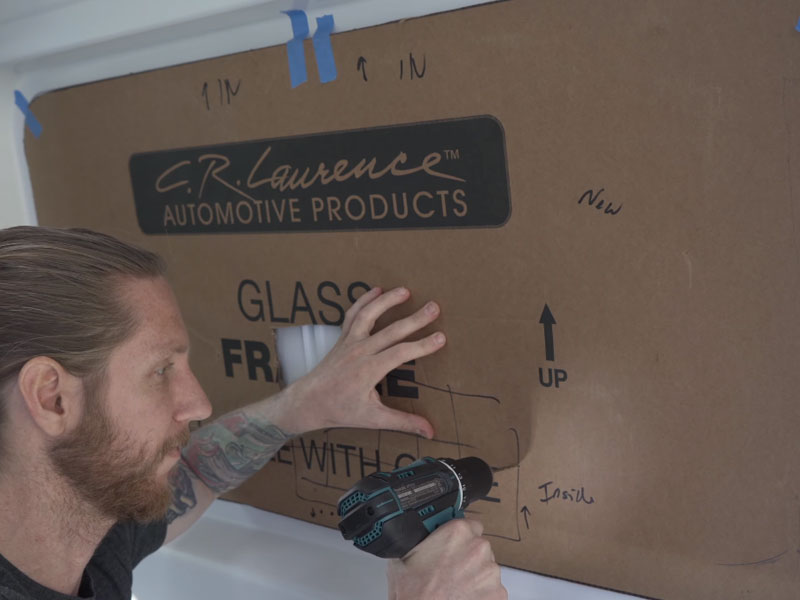
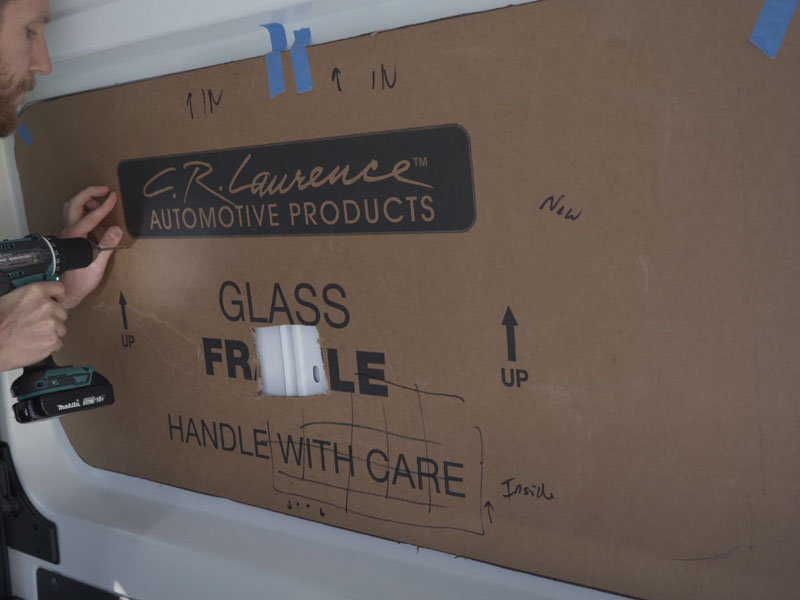
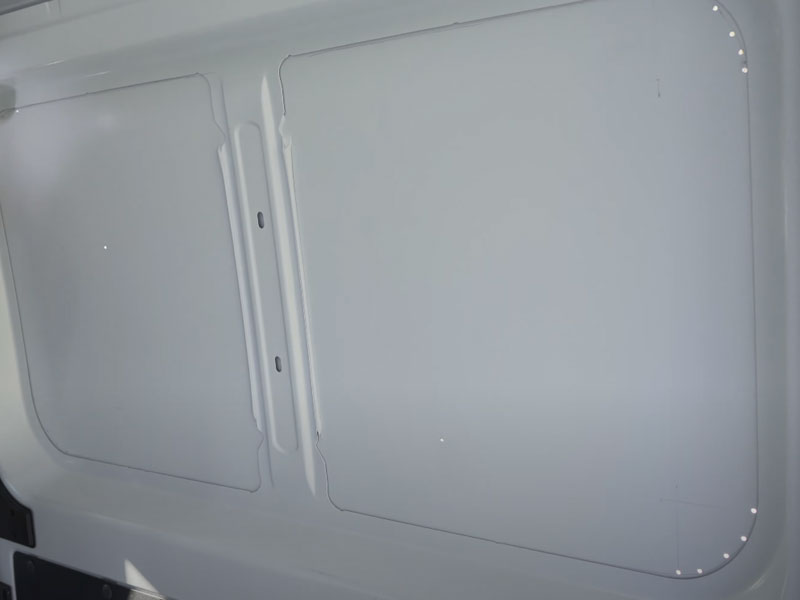
2] Place your template on the inside of the sliding door and center it the best you can. Get it taped up, again make sure it’s center. Using a pencil, trace around the template.

3] Using an 1/8″ drill bit, put two holes through the template, into the van door. You will use these holes to place the template in the exact same spot on the outside of the van to do another round of verifying the placement.
4] Remove the template. Put a drill bit in each of the holes. Put the template on the outside of the van, using the drill bits to hold up the template. Measure from the top to make sure the template is level. If all looks good, move on. If not, attempt to get the template square.
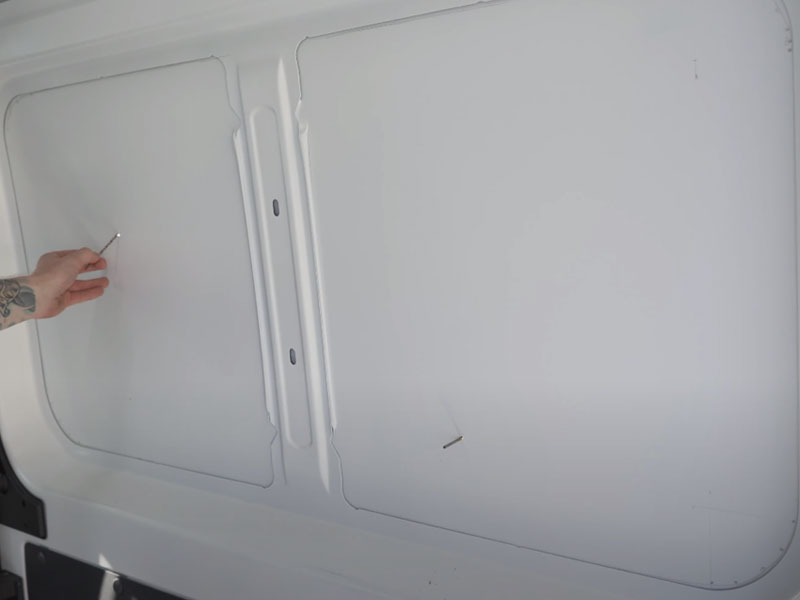
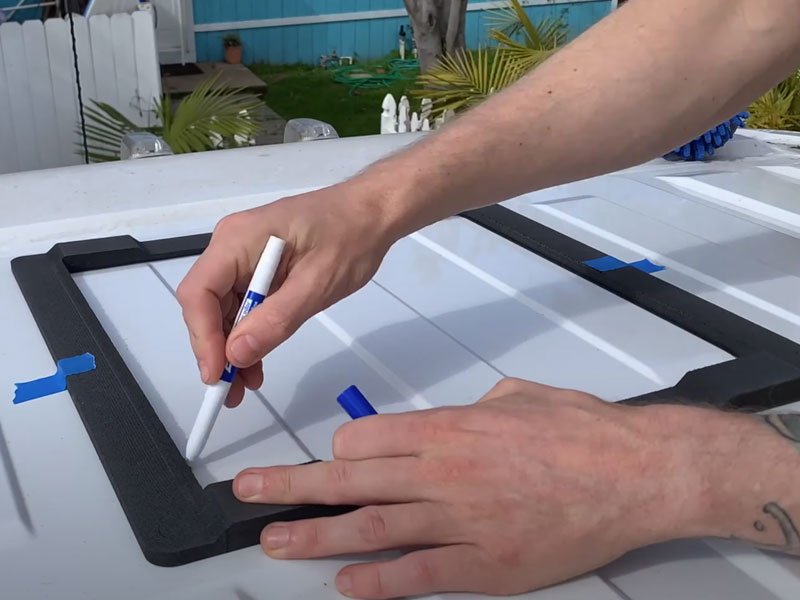
5] From the inside of the van, drill holes around the corners using a small drill bit. I used an 1/8″ bit.
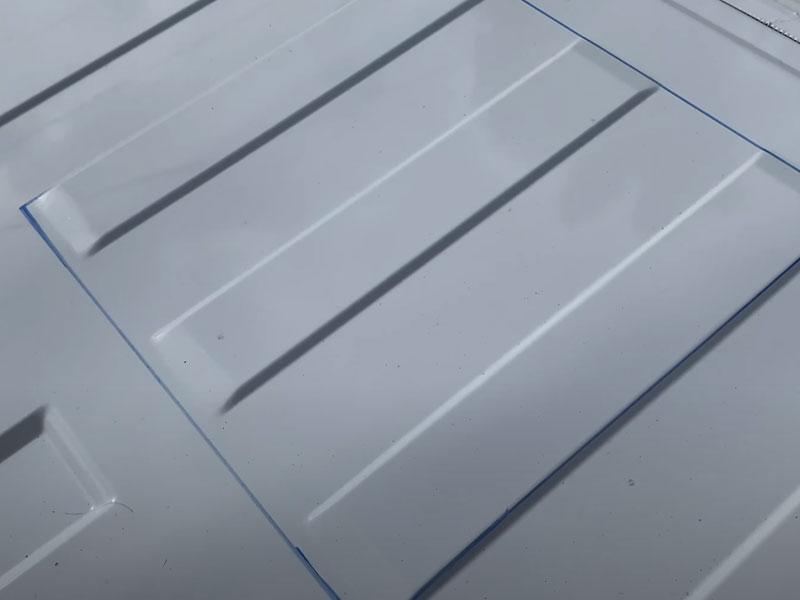
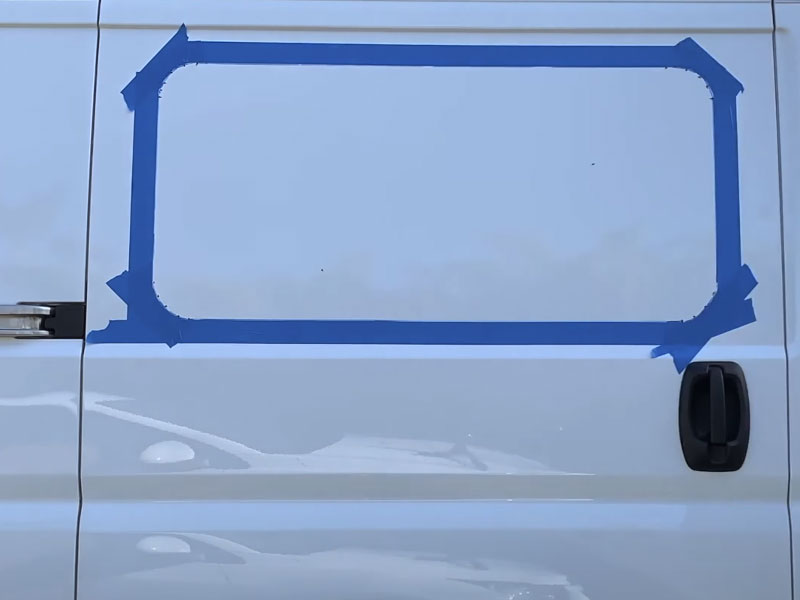
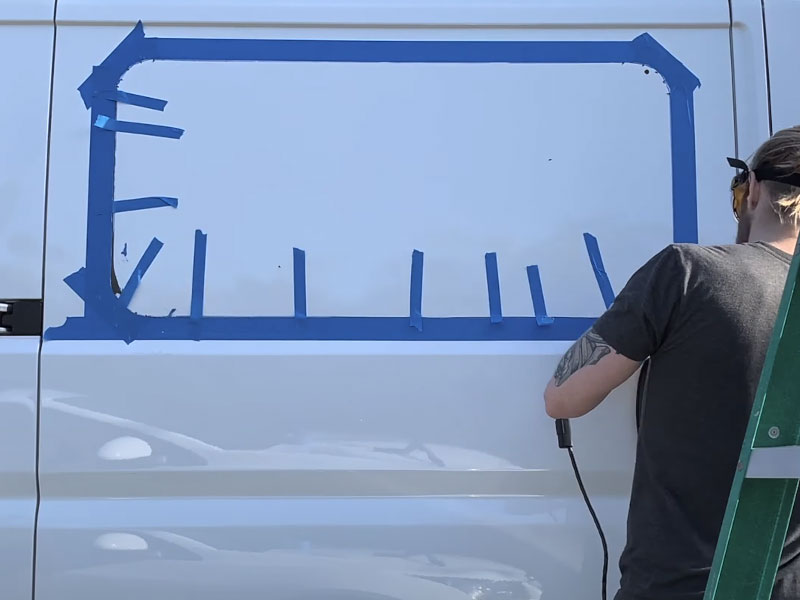
6] On the outside of the van, connect the dots from one corner to another, using a marker and a straight edge.
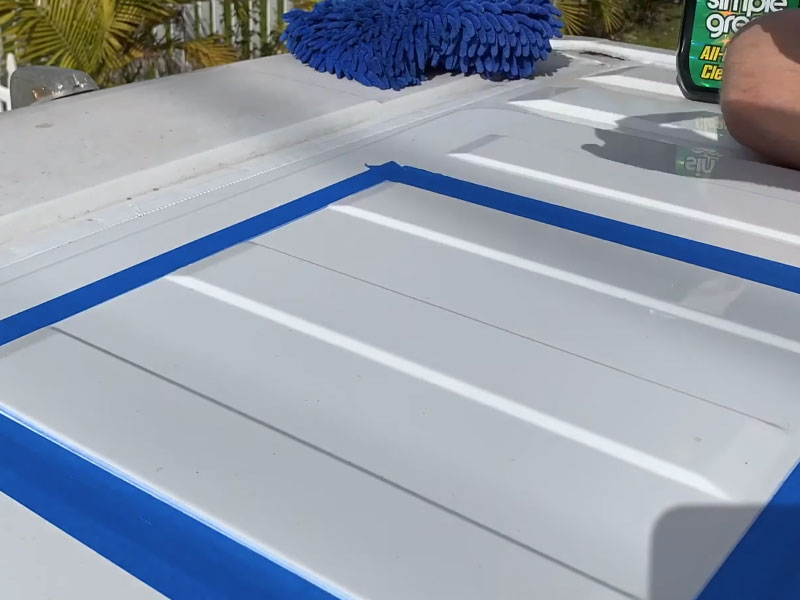
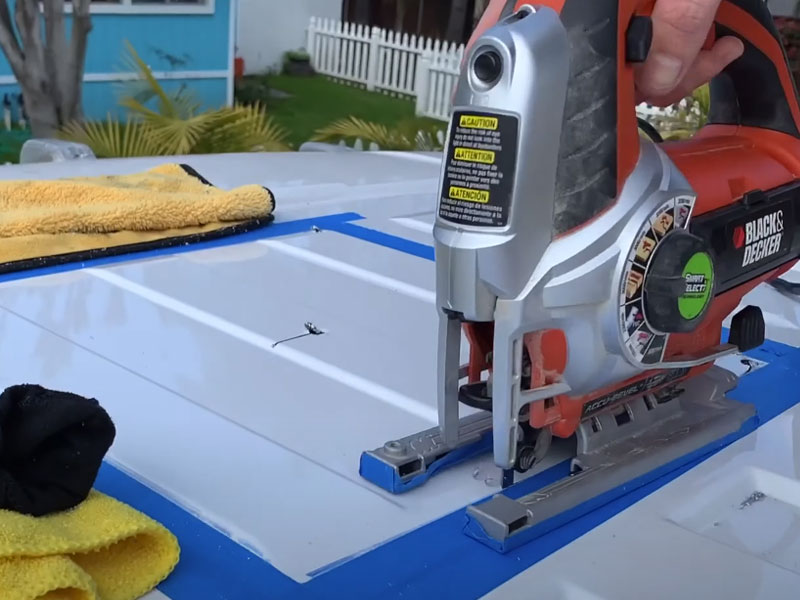
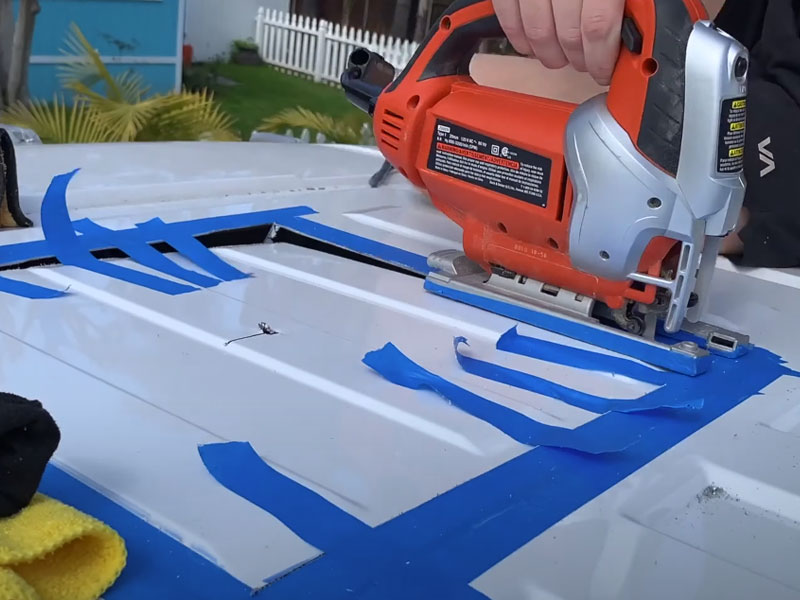
7] Put tape around your cutout template to help avoid scratching the van with your jigsaw. You can also place tape on the bottom of the feet of your jigsaw .
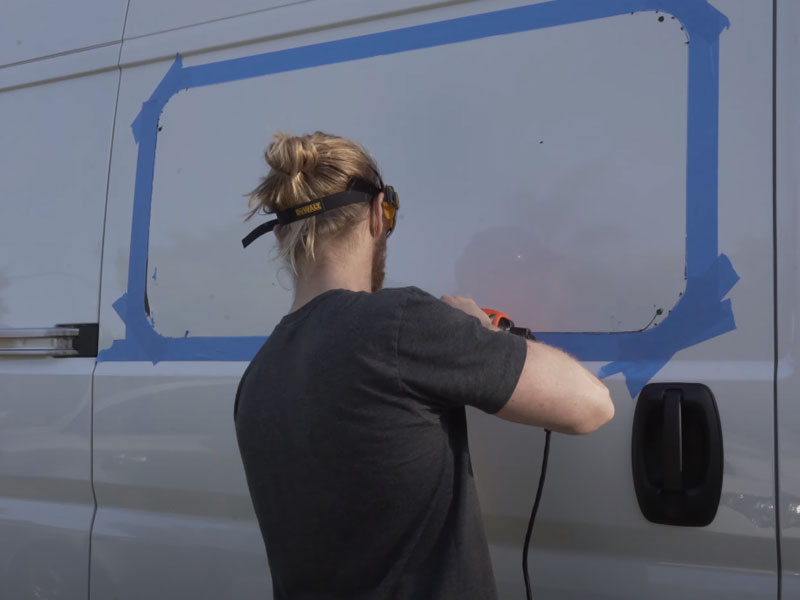
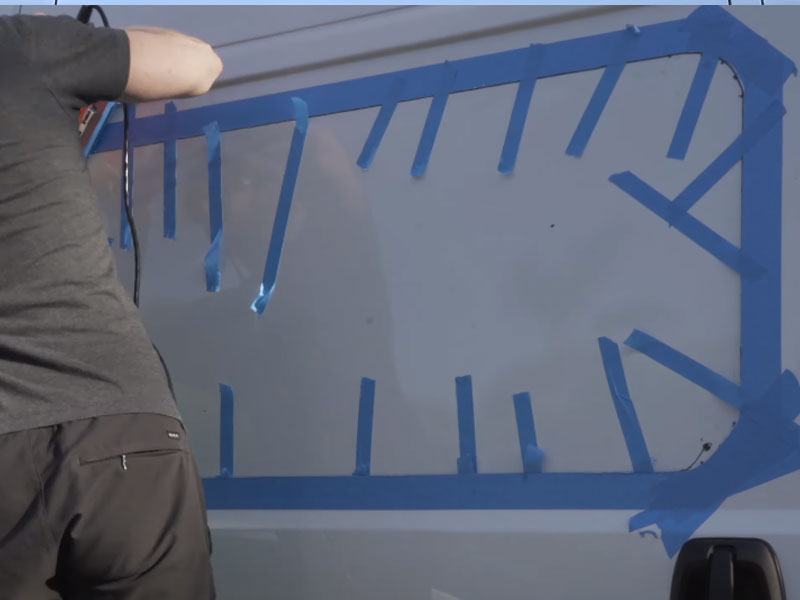
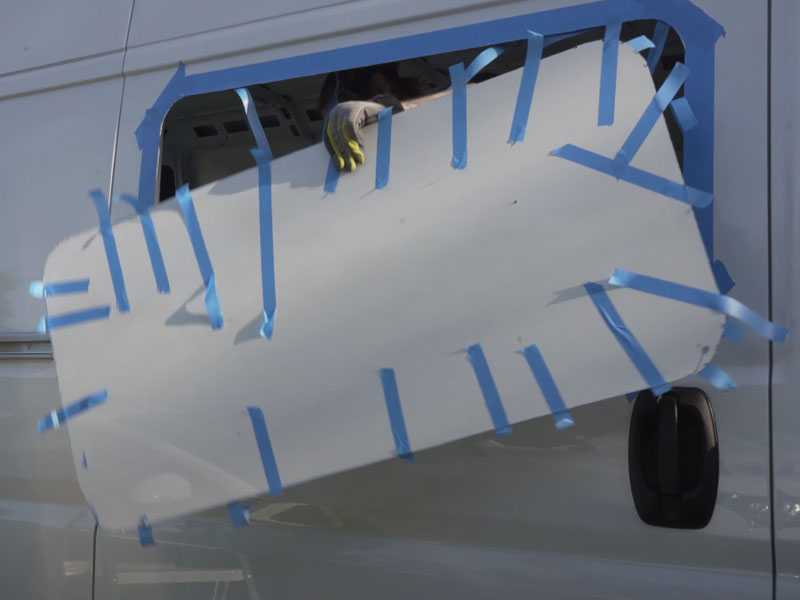
8] Put a few larger starter holes in the cutout area with a drill so the jigsaw blade will fit. Cut out the giant hole in your van using a jigsaw. Go slow and take your time. Make sure you are wearing safety goggles. It’s helpful to tape up the pieces you’ve cut to help it from bouncing around.
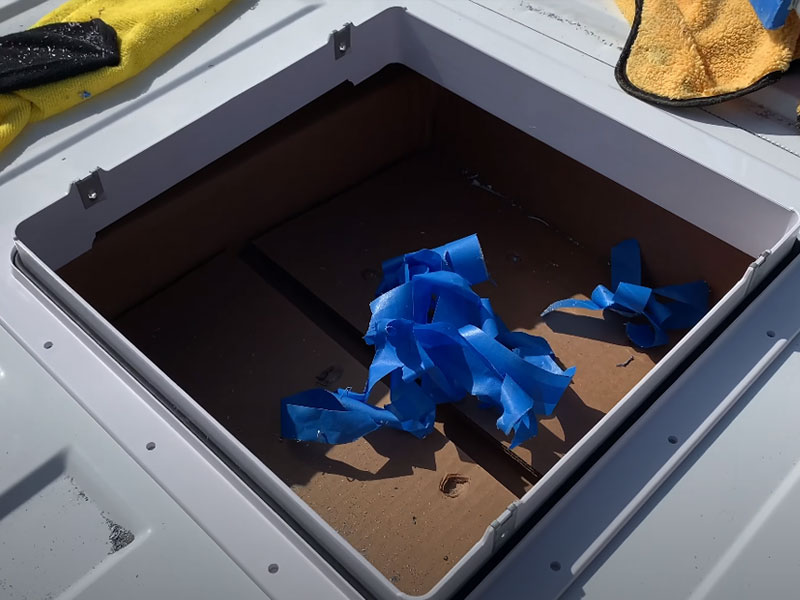
9] Remove the piece that you cutout. Use safety gloves to handle the metal.
10] File down the edge of the cutout. Test fit your window. If the window does not fit, file some more or use your jigsaw if a lot needs to come off, but be careful as the metal will want to bend.
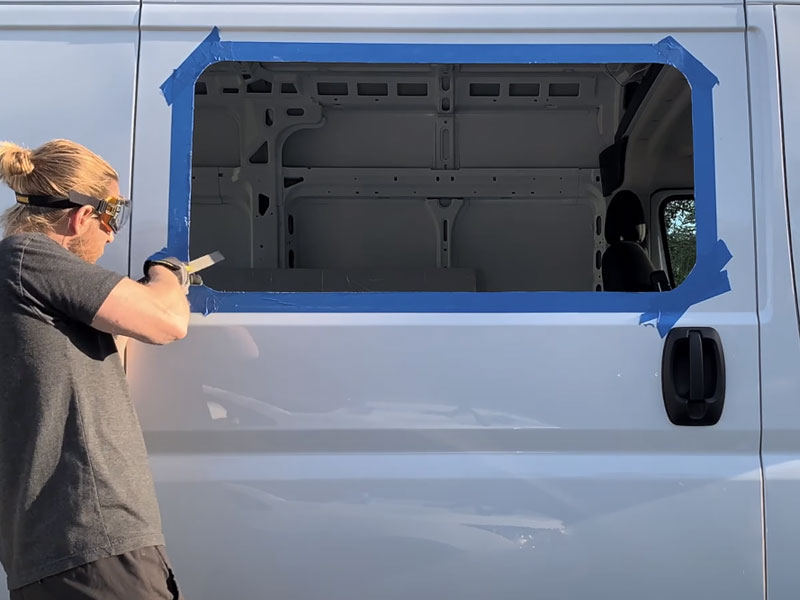
11] Clean the door with simple green. Paint the edges with Por-15. The foam brushes help with this process. Wait for the paint to dry.

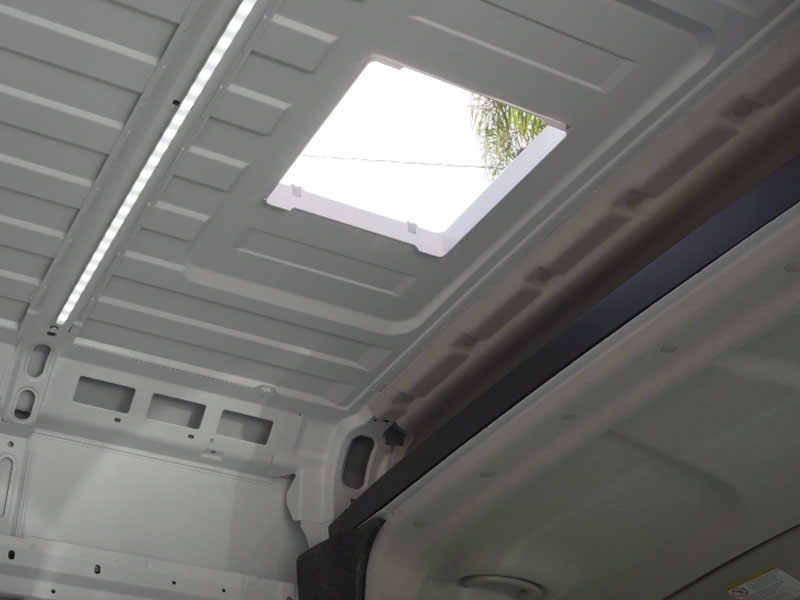
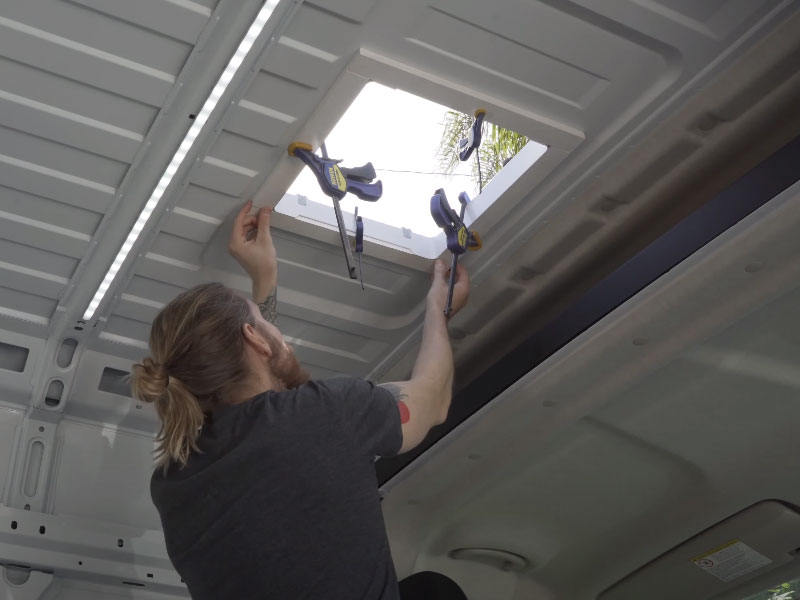
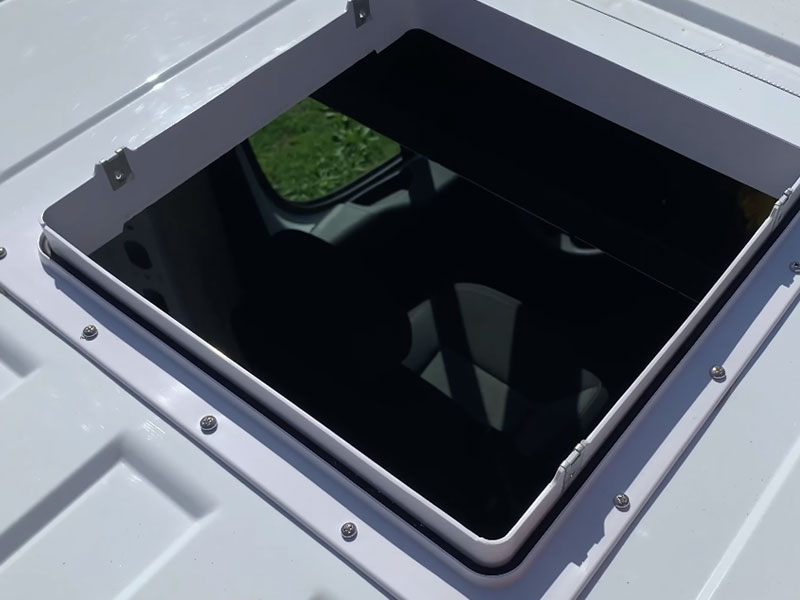
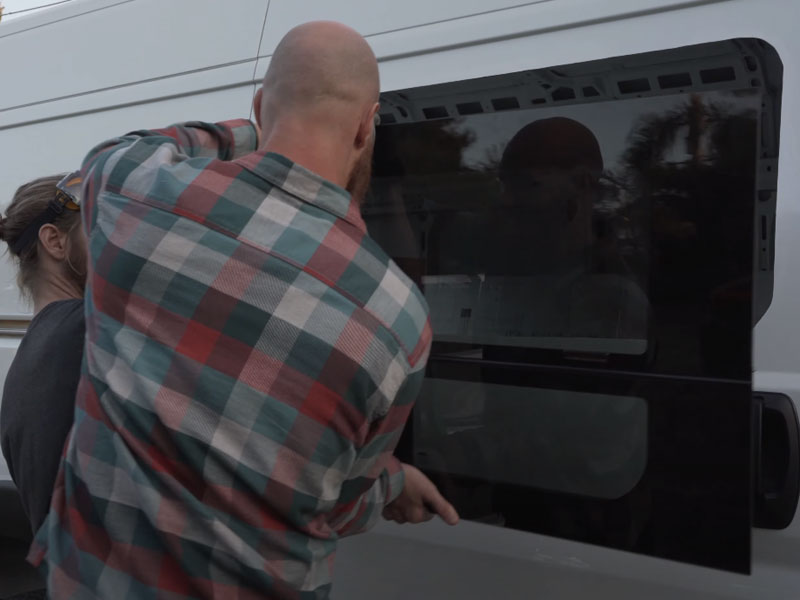
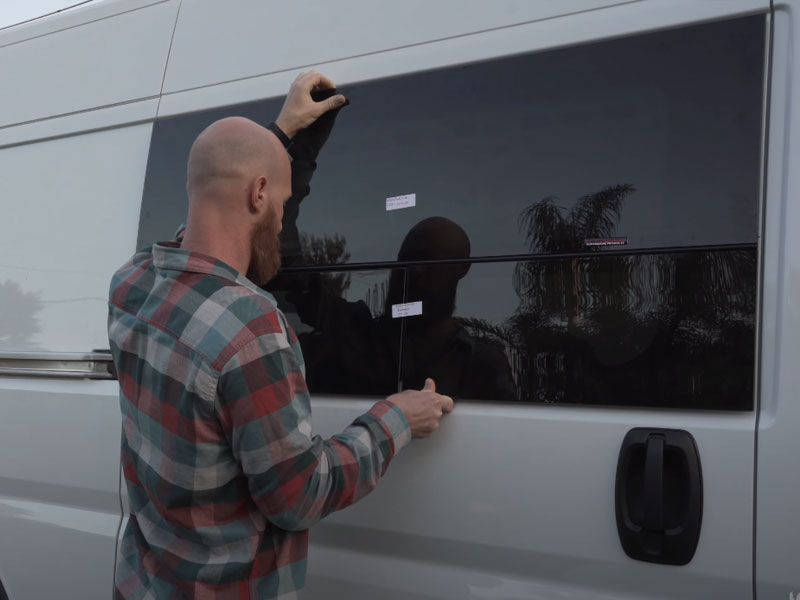
12] Place your window in the hole, make sure the window sits all the way in.
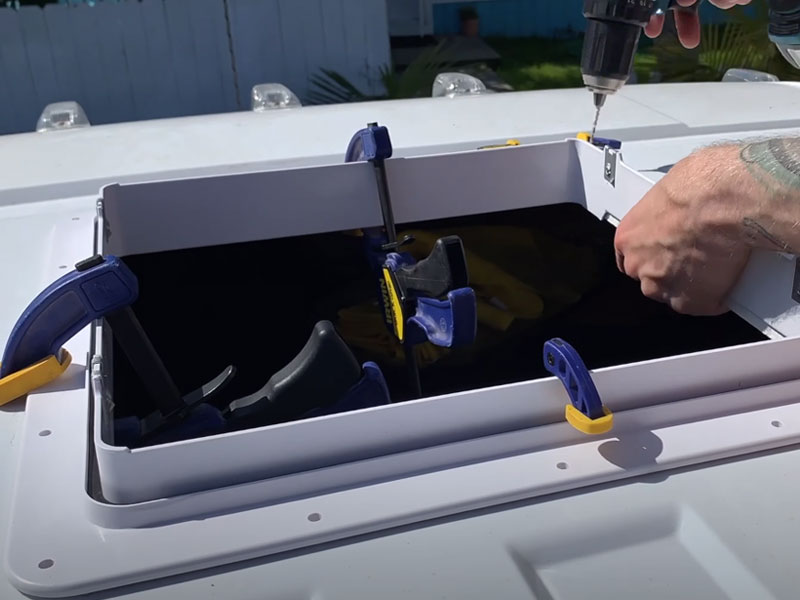
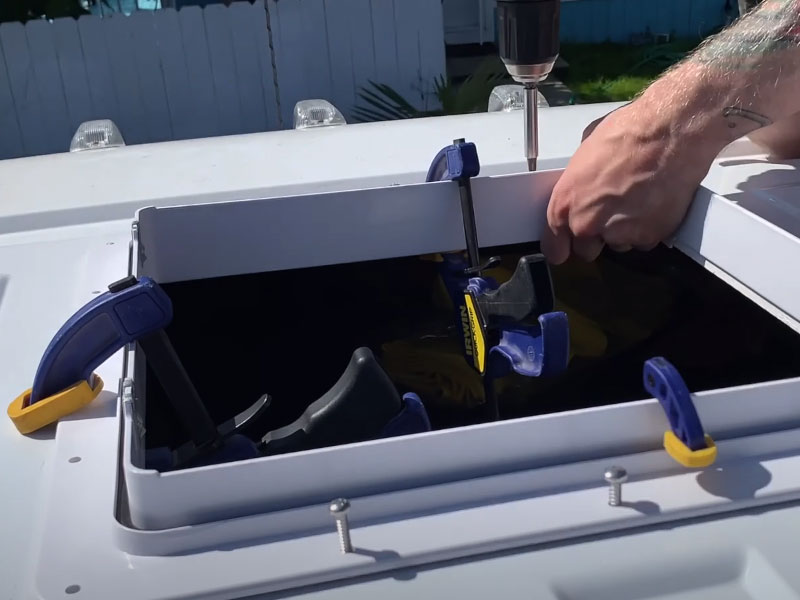
13] Have somebody hold the window from the outside as you get the frame set on the inside.
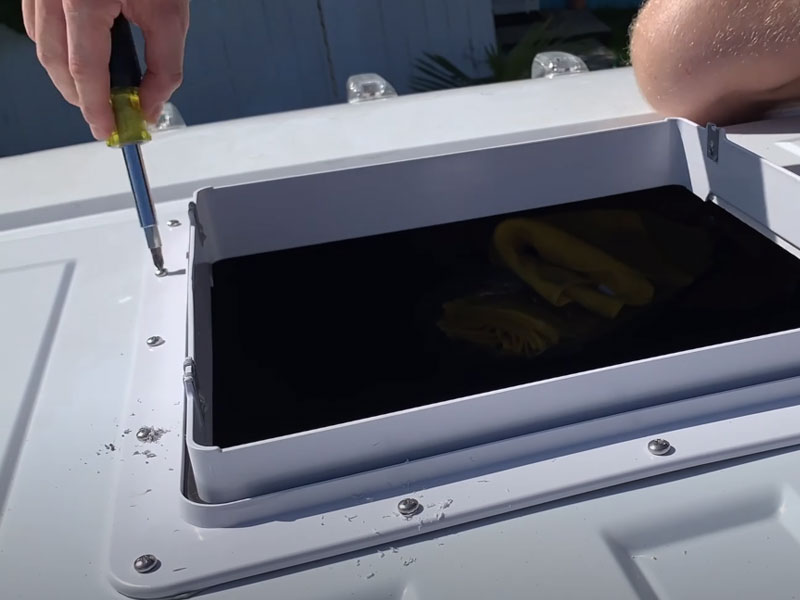
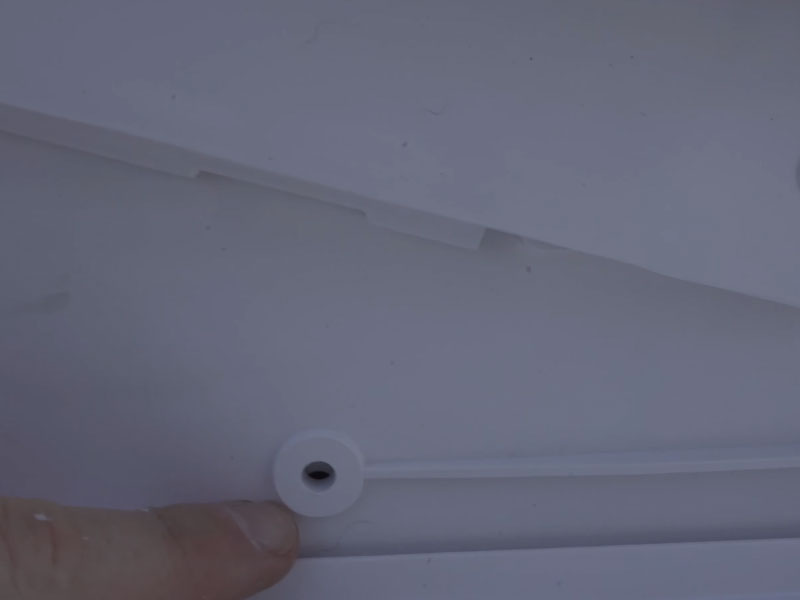
14] Using a drill, start installing screws into the frame. Make sure the torque is low! The screws will strip if you tighten them too hard with a drill. You’re better off just hand tightening everything after you get the screw started with a drill. I did not pre-drill holes. The window will suck in nice and tight, you’ll be able to tell when you should stop tightening.
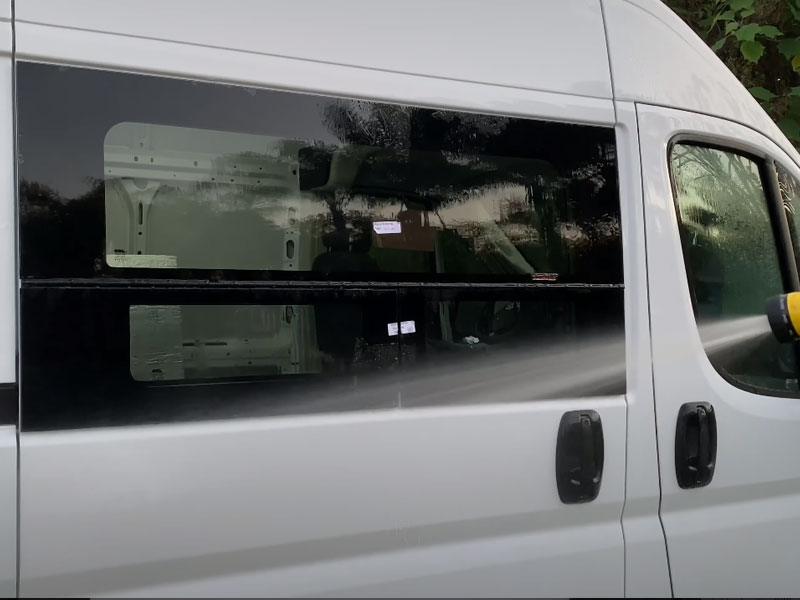
15] Using a hose, do a spray test on the window. From the inside, check to make sure nothing is leaking around the window.
Good luck and let me know if you have questions. I’ll be moving onto floor insulation and installing a subfloor in the van, so stay tuned.