My name is Jason. I am a software engineering leader, I like to surf and I love going on adventures in my camper van with my wife and dog.
Ram ProMaster Van Floor Insulation
In this article I will cover how I insulated the floor in my Ram ProMaster van. I used 3/4″ RMax Polyiso rigid foam board for my insulation. However, I had a lot of trouble finding it in southern California, none of the big box stores carried it.
I ended up being able to custom order some through J&B Materials. They were super helpful, give them a call for any building supplies if you are in the area.
There are tons of hot takes in forums, articles, and on YouTube about the best insulation to use for the floor in a van. I’m not here to tell you what’s best, you can choose whatever you feel like works out best for your situation. There are a lot of good options to choose from – Polyiso, sprayfoam, minicell, etc. Or, skip the insulation altogether, drop in a quick subfloor, and use some heavy rugs.
I personally went with the Polyiso/grid solution because I didn’t want to drill holes into the floor of my van. The 1×2’s, along with the tie down threads, will allow for me to attach the subfloor securely, without creating new holes.
Materials/Tools Required
3/4″ RMax Polyiso Rigid Foam Board Insulation (I used 3 sheets, you can get away with 2 if the entire sheet is in good condition)
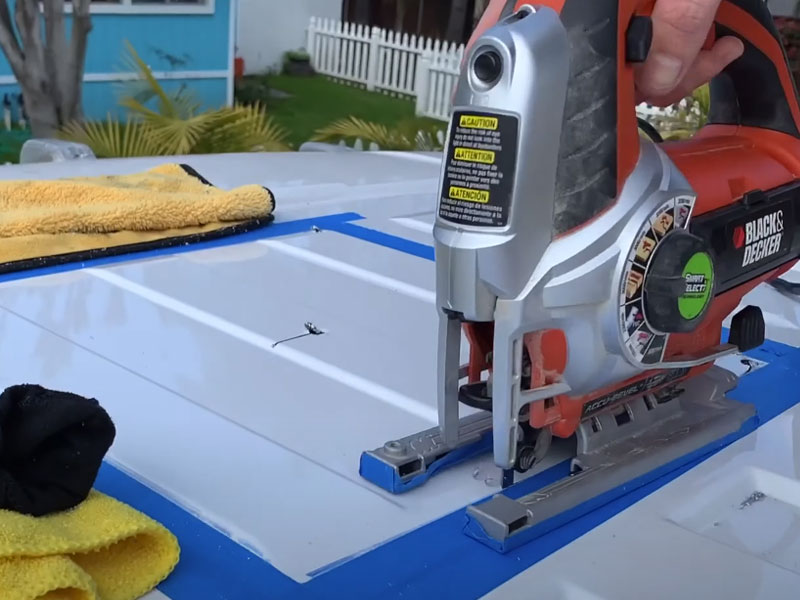
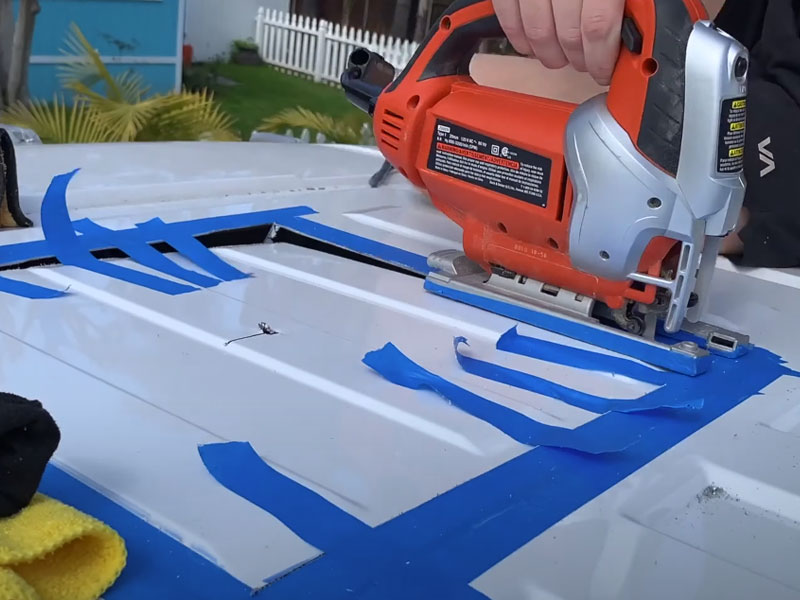
Jigsaw (or utility knife)
3M Contact Adhesive
Sikaflex 221 Sealant
Rust-Oleum Primer
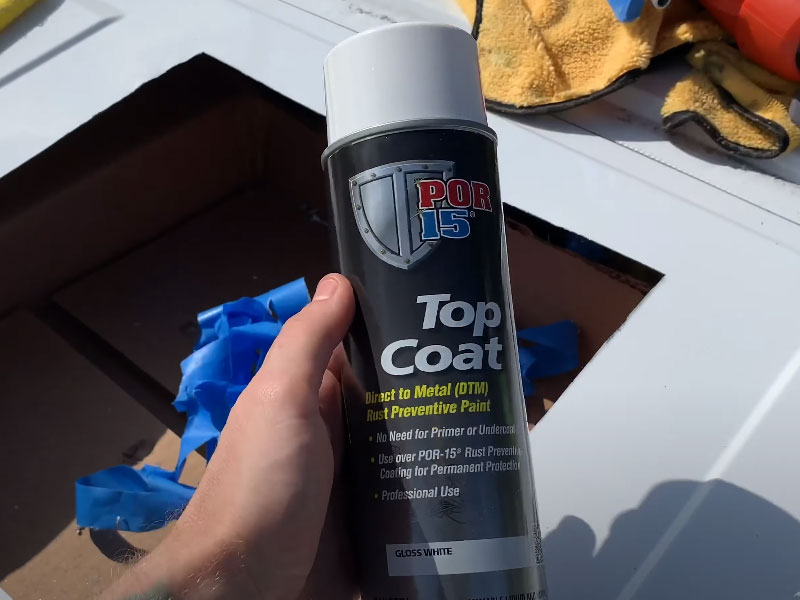
Por 15 Top Coat Spray Paint
Reflectix Tape
Loctite Construction Adhesive
Foam Brushes
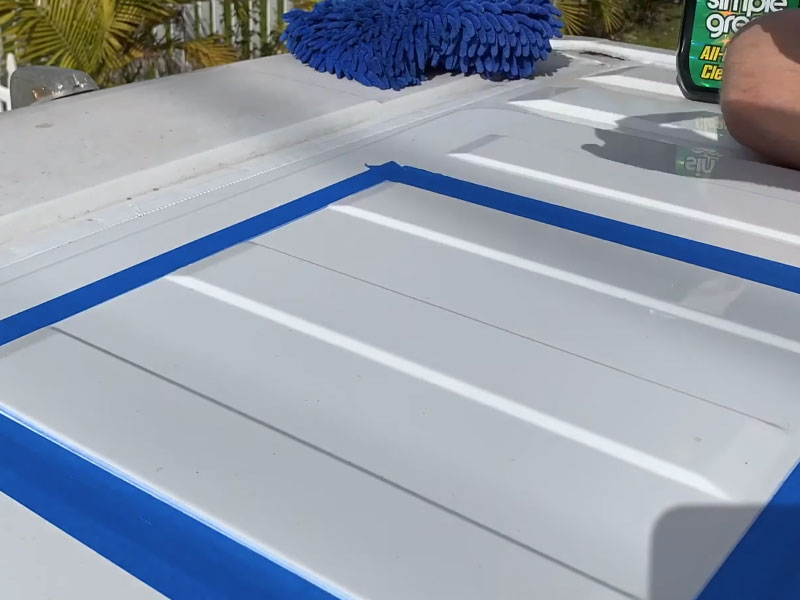
Simple Green Cleaner
M8X1.25 screws (for tie down threads)
Dewalt Safety Goggles
Driver Drill
Ram ProMaster Van Floor Insulation Steps
The flooring solution will all be centered around a grid of 1×2’s, so you’ll want to draw up a diagram of where you want your 1×2’s to sit in the van. The 1×2’s will be adhered to the floor, no screws will be going into the existing floor. We will be using the existing tie-down threads to secure the subfloor, as well as putting screws from the top layer down into the 1×2’s.
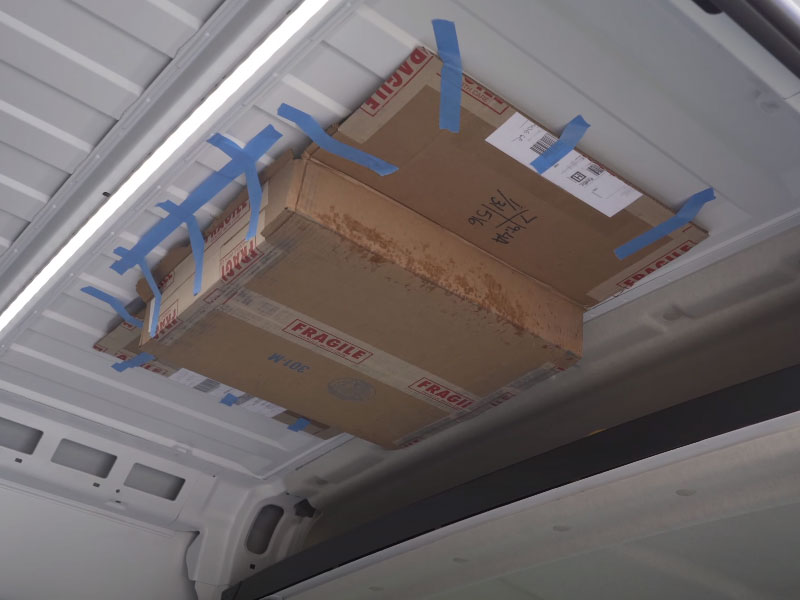
The insulation and sub floor are tied very closely together, so you’ll want to have your subfloor pieces cutout and ready to use for weighting down the adhesive overnight.
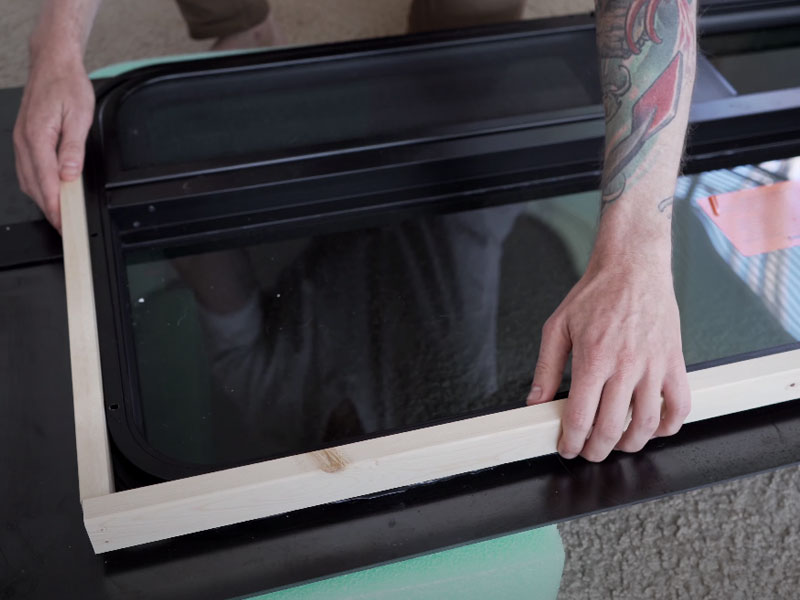
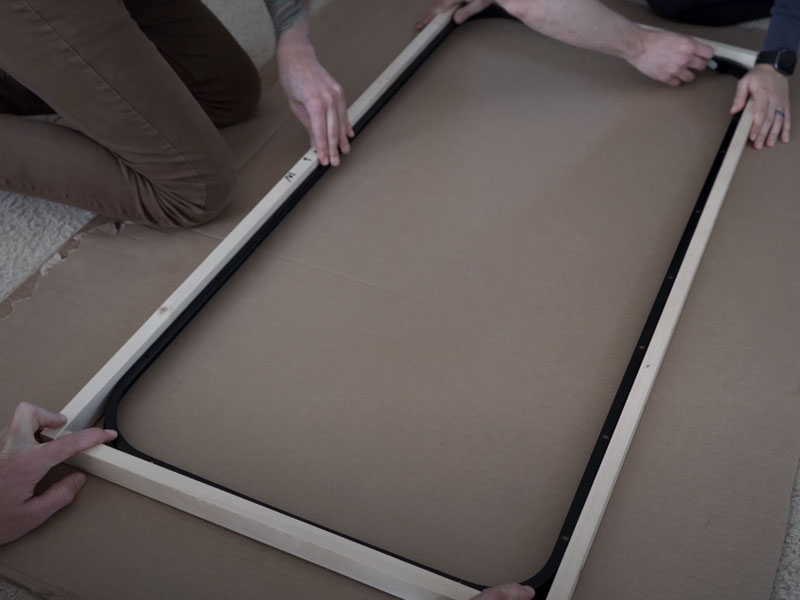
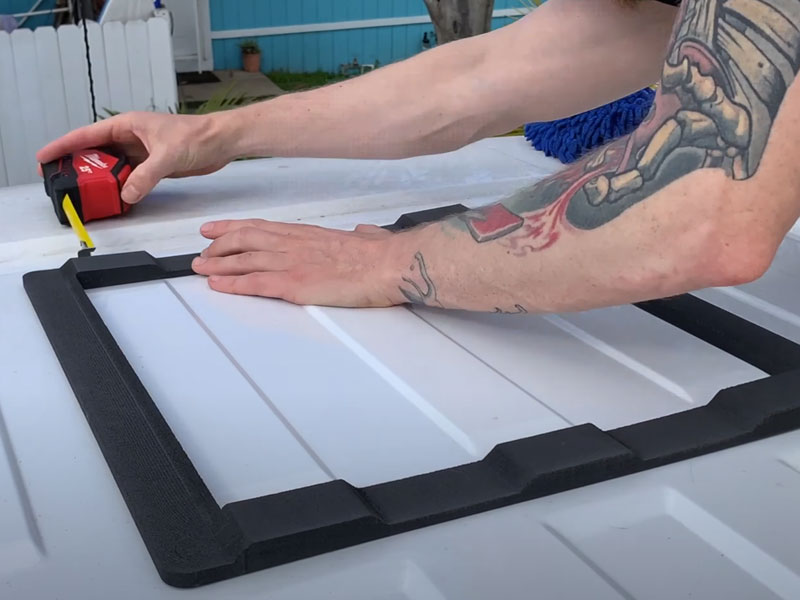
1] Create a grid with 1×2’s. This requires lot of measuring, patience, and cutting.
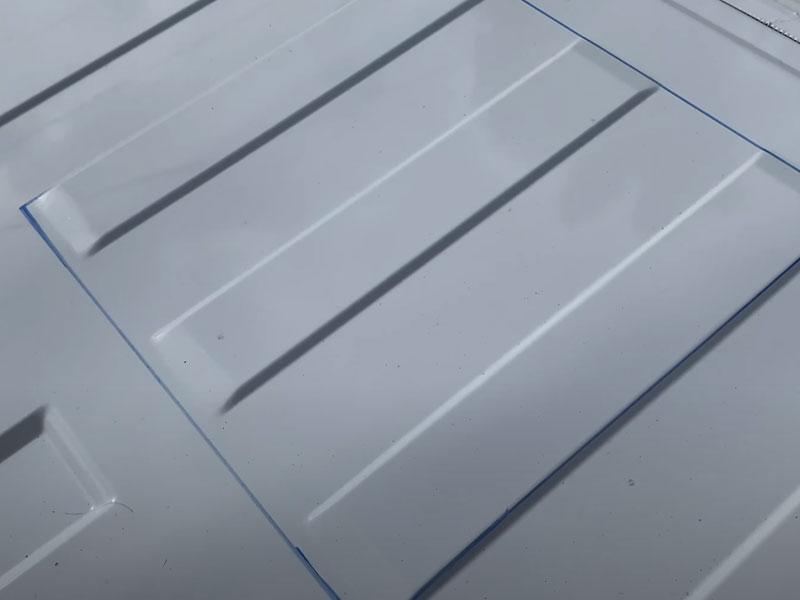
2] Cut the Polyiso to fit inside the grid. Make sure everything fits nice, but allow some room for the wood to flex.
3] Prime all of your wood with a mold/mildew resistant primer. Wait for the paint to dry.
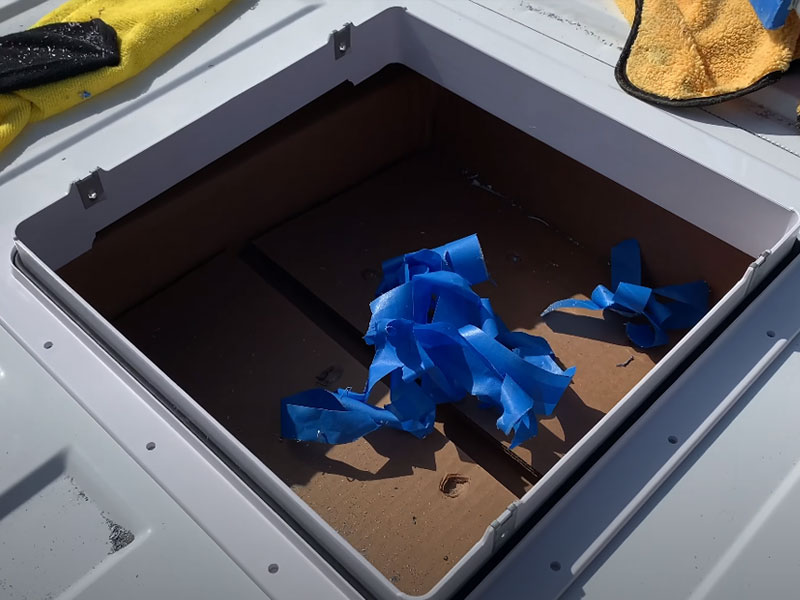
4] Remove everything, remove the tie downs in the floor, clean the floor with Simple Green, and fill any holes with Sikaflex. If you will not be using the tie down threads at all, put a placeholder screw in the hole, or fill the hole with Sikaflex so water does not get into the van from underneath.
5] Put all of the 1×2’s and polyiso back into their spots.
6] Starting from the back, begin adhering the 1×2’s to the van floor by using the Loctite construction adhesive. Place weights on the 1×2’s. Continue going piece by piece until you get to your first seam. Use the 3M adhesive to put the polyiso in all of the voids, before the first seam.
The trick to the 3M adhesive is to spray it first on both the van and the polyiso, let it set for a few minutes until it’s tacky, and then place the polyiso. If you don’t let the adhesive sit, it will not cure/adhere the materials correctly.
Place your first piece of subfloor on top of the 1×2’s and polyiso, add weights on top.
7] Repeat step 6 for the rest of the pieces, go seam by seam until your subfloor is sitting in place with weights on top of everything. Let this sit overnight to ensure that everything has adhered to the van floor.
8] Sleep
9] Remove all of the weights and subfloor pieces. Verify the polyiso and 1×2’s are installed correctly. Give the 1×2’s a good yank, these should not move at all.
10] Spray any small voids with Great Stuff.
11] Tape off all of the seams with Reflectix Tape.
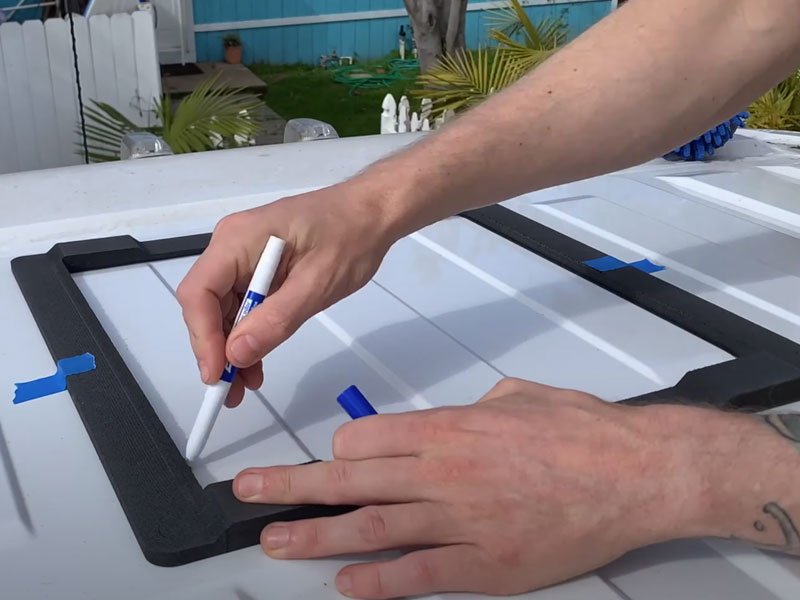
12] Take pictures and mark where all of your 1×2’s are so you can easily put screws into the wood during the subfloor installation.
In the next article, we’ll finish installing the subfloor.