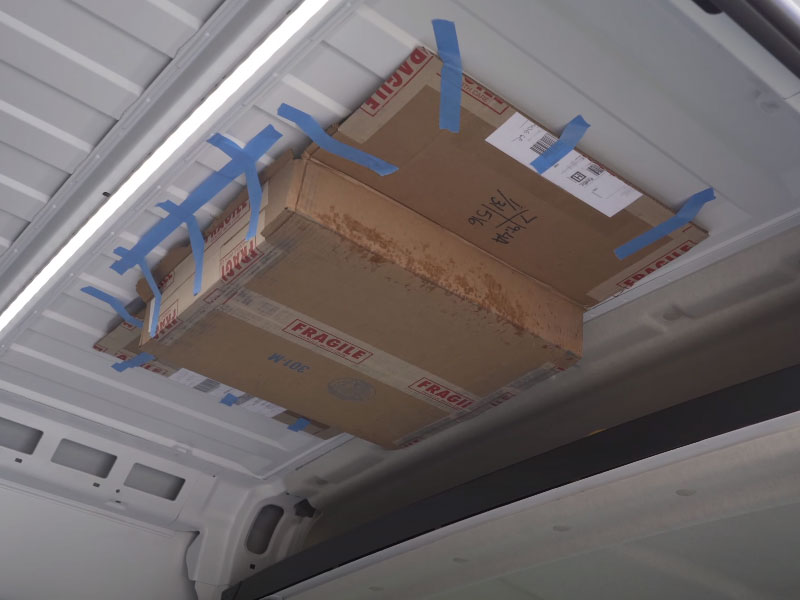
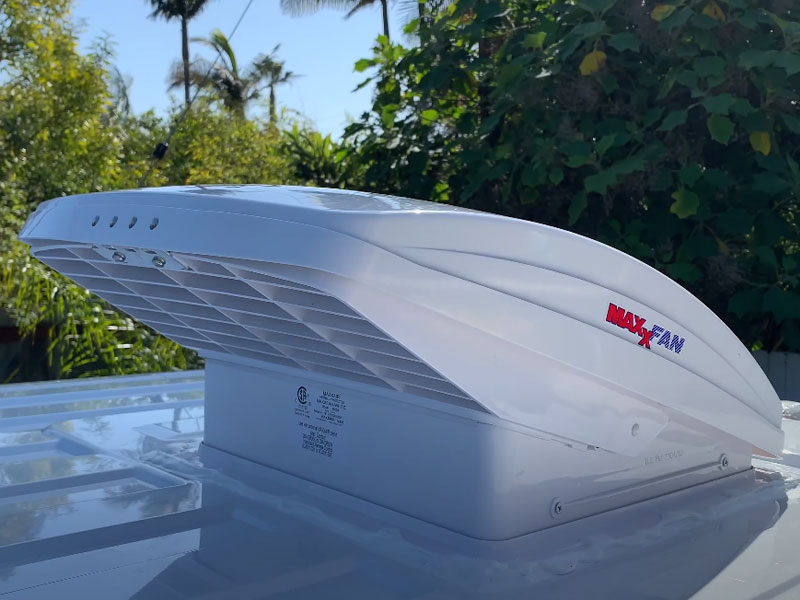
In this article I cover the MaxxFan Deluxe installation for my ProMaster. We needed one of these to suck Winnie’s farts right out of the van! Just a note, I bought the roof vent adapter that Hein from DIYVan sells, but realized that I didn’t need it for the spot I was going to install the vent. If you are going to install your vent towards the back of the van, I highly recommend purchasing that adapter so you get a nice flush mount.
Once you get over the fact that you’re cutting a hole in your new van, this project is EZ PZ. All the materials I used are listed below.
Materials/Tools Required
MaxxFan Deluxe w/ Remote
Butyl Tape
Dicor Lap Sealant
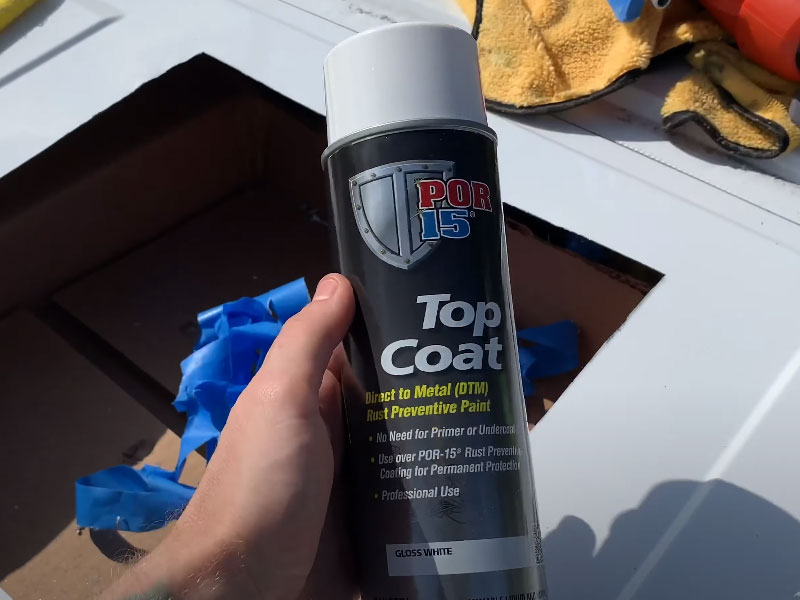
Por 15 Top Coat Spray Paint
Bosch T118G Jigsaw Blades
Foam Brushes
Driver Drill
Simple Green Cleaner
Safety Goggles
Mold/Mildew Resistant Primer
Metal File
1×2’s
MaxxFan Deluxe Installation Steps
Before installing the fan, decide if you want to create a frame for underneath or if you are just going to screw straight into the sheet metal. I chose to create a frame with 1×2’s so that the screws could suck into something. I painted the 1×2’s with a mold/mildew resistant primer because they will be attached directly to the van metal.
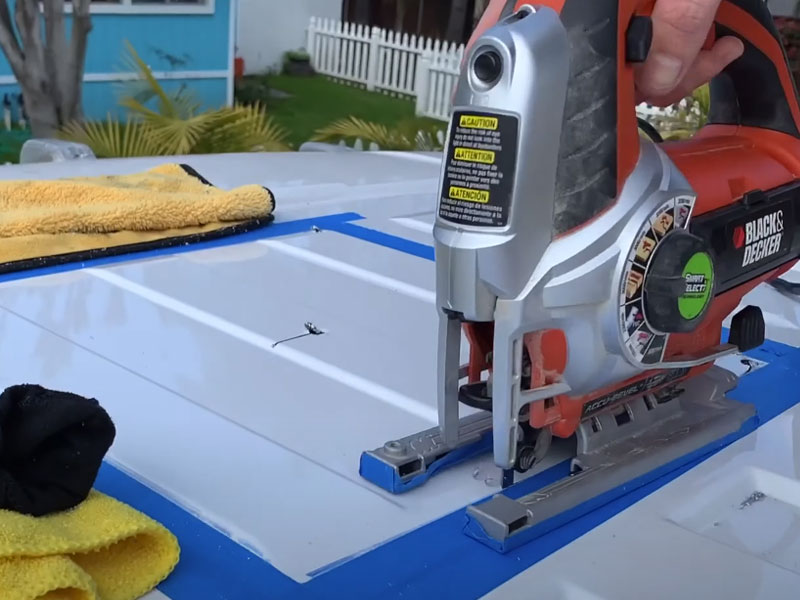
1] Figure out where you’re going to install your fan and find the center point.
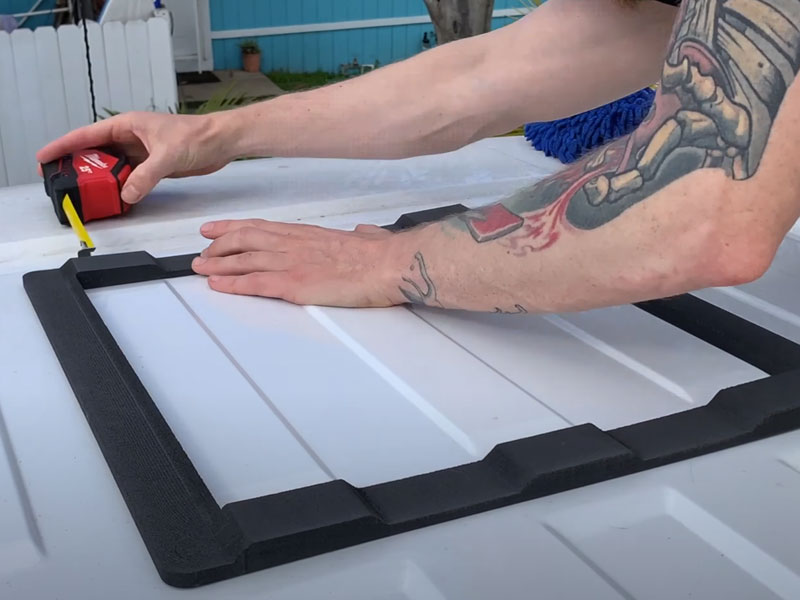
2] Trace a template onto the roof of where you need to cut out. You can use the frame they give you as a guide, or the adapter from DIYVan if you purchased one.
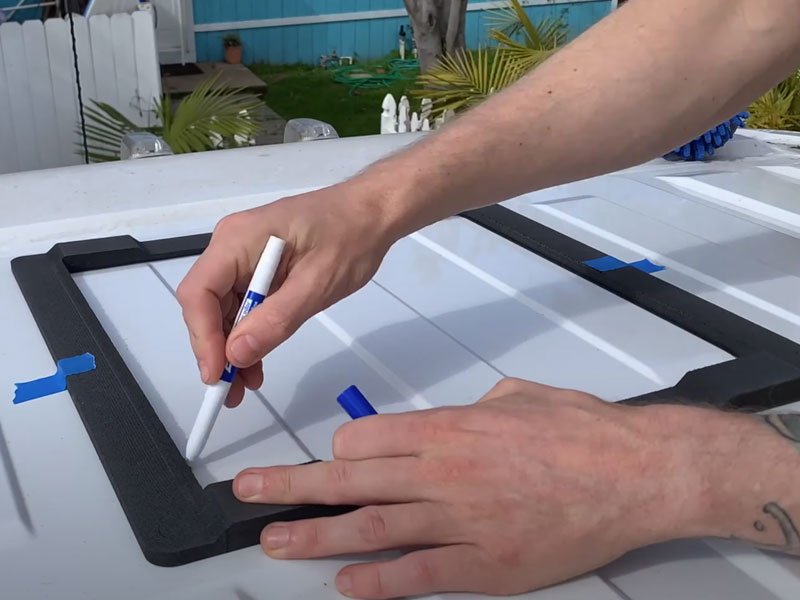
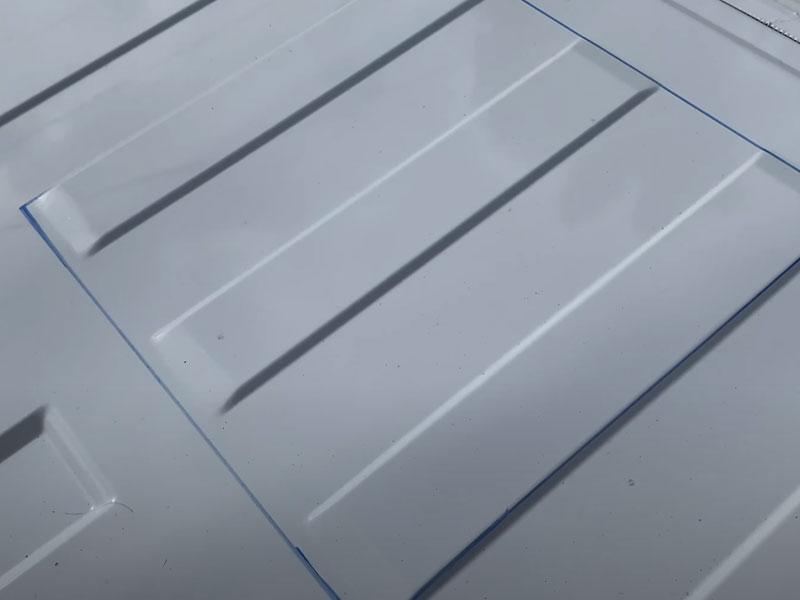
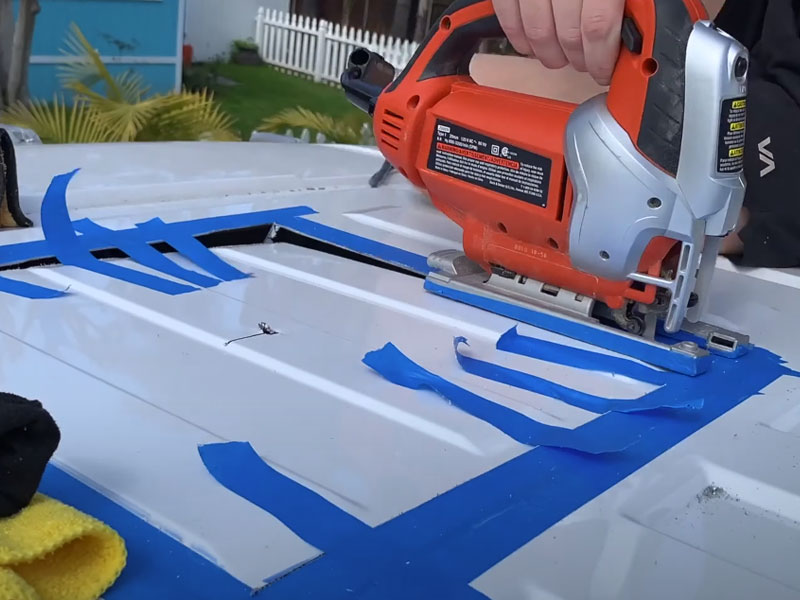
3] Put tape around your template so that your jigsaw does not scratch up the roof of your van while you are cutting. It can also help to put tape on the feet of your jigsaw.
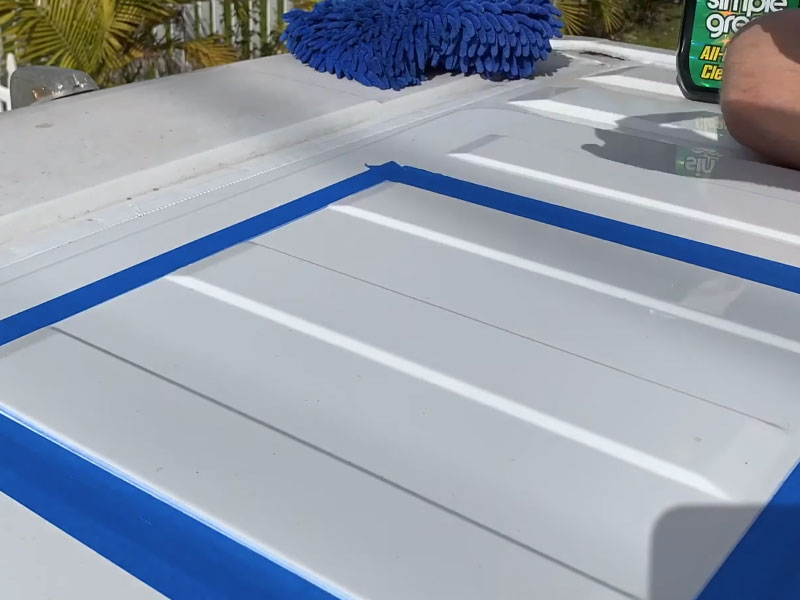
4] Put a box or something underneath where you are about to cut so that you can catch all of the metal shavings. Use a magnet or shop van on the roof as well, so you can prevent the shavings from going everywhere and rusting in the future.
5] Cut out your hole with the jigsaw. Make sure to use jigsaw blades made specifically for cutting thin metal.

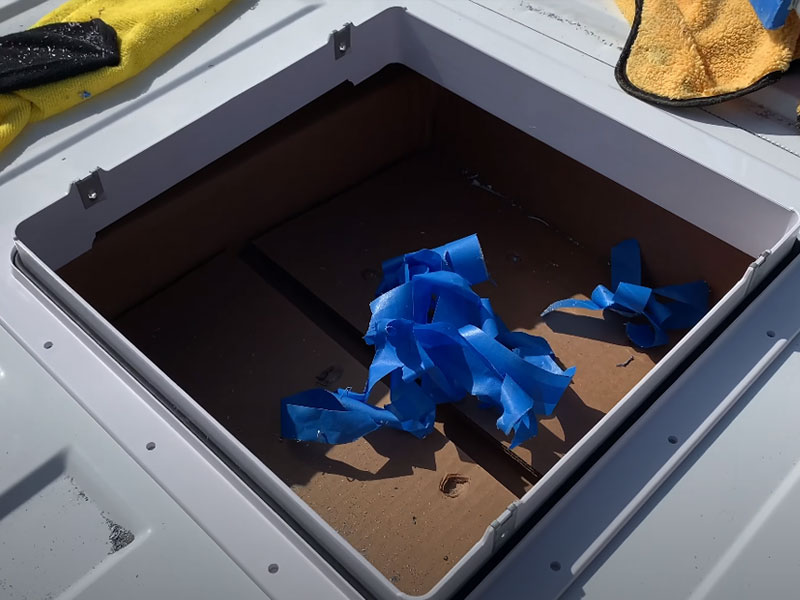
6] File down the edges and make sure the frame fits.
7] Paint the edges with Por-15. I think it helps to use the foambrush. Wait for the paint to dry.
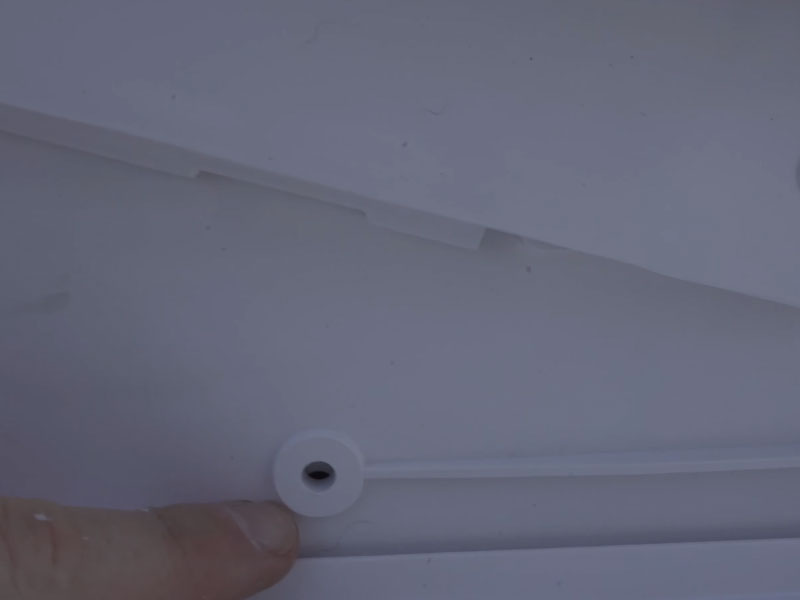
8] Put butyl tape on the bottom of the frame, on all 4 sides.
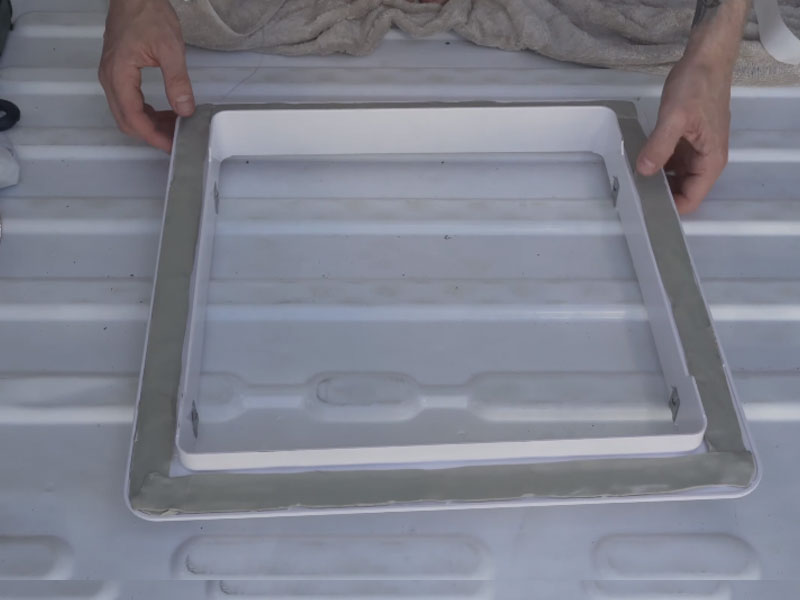
9] Place frame into the hole in your van. Make sure the silver tabs are on the passenger and driver side, this is where you will screw the fan into. Push down so that the butyl tape is solid against the roof.
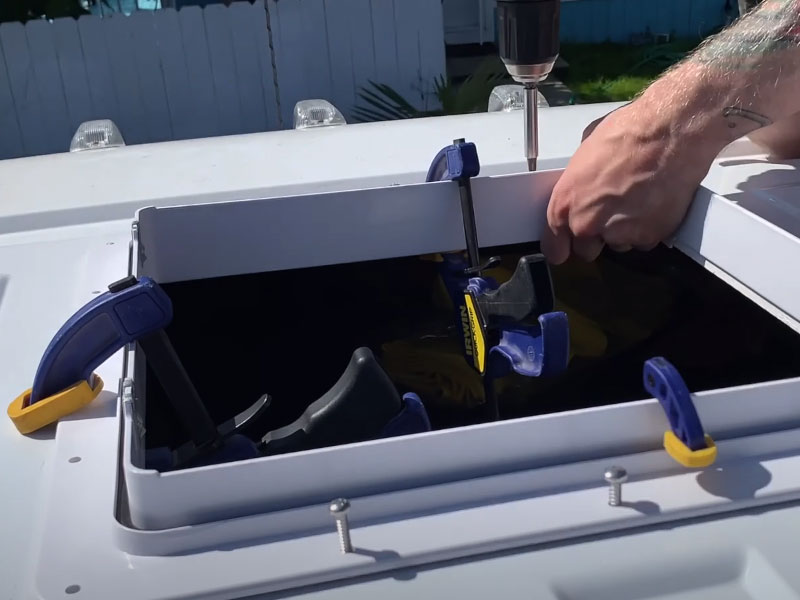
10] *OPTIONAL* Clamp your 1×2’s inside the van, around the hole in the roof.
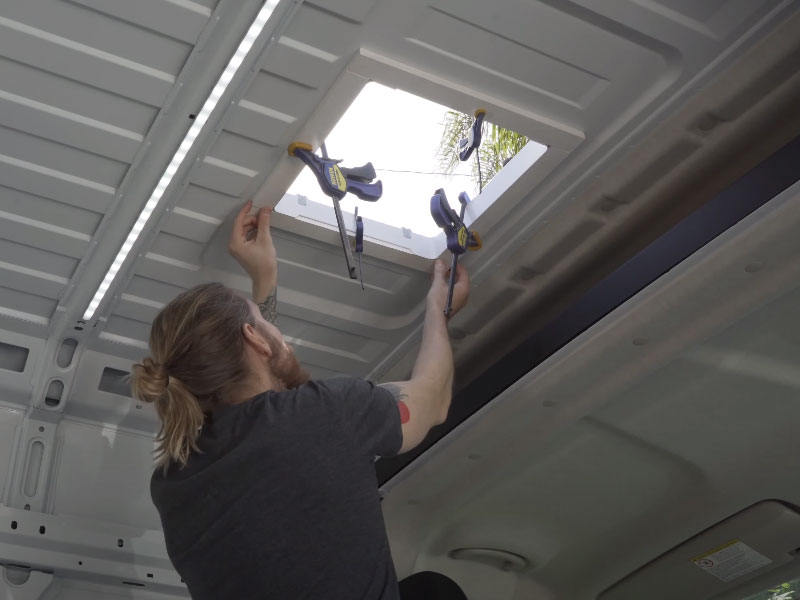
11] Pre-drill holes from the top of the frame, down into the 1×2’s
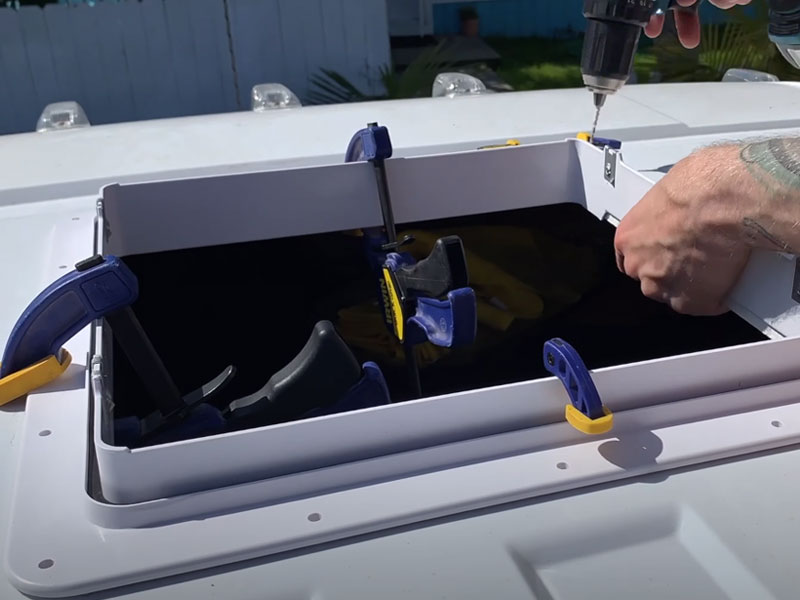
12] Using the screws provided, attach the frame to the roof. Do not use too high of a torque setting if you are using a drill. Hand tighten these as the frame is only plastic and will crack with too much torque.
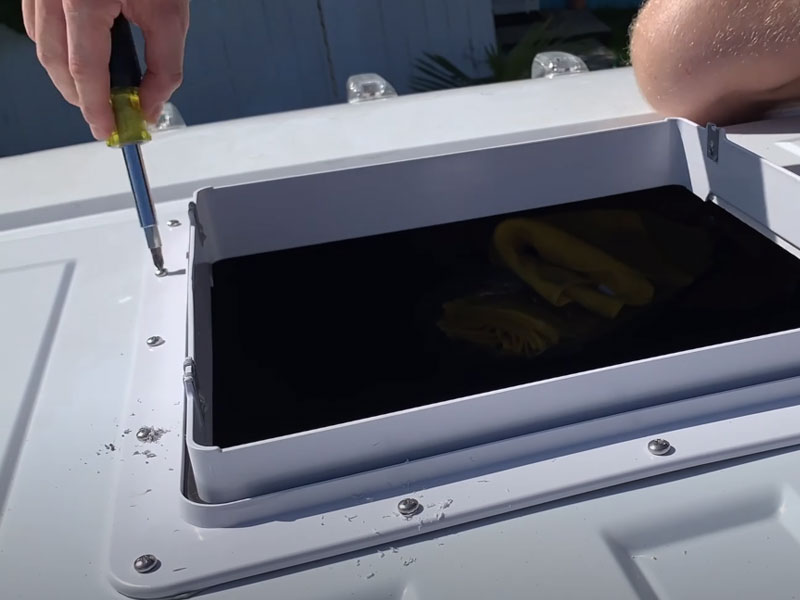
13] Put lap sealant on all of the edges and over the screws. Wait for it to settle and dry.
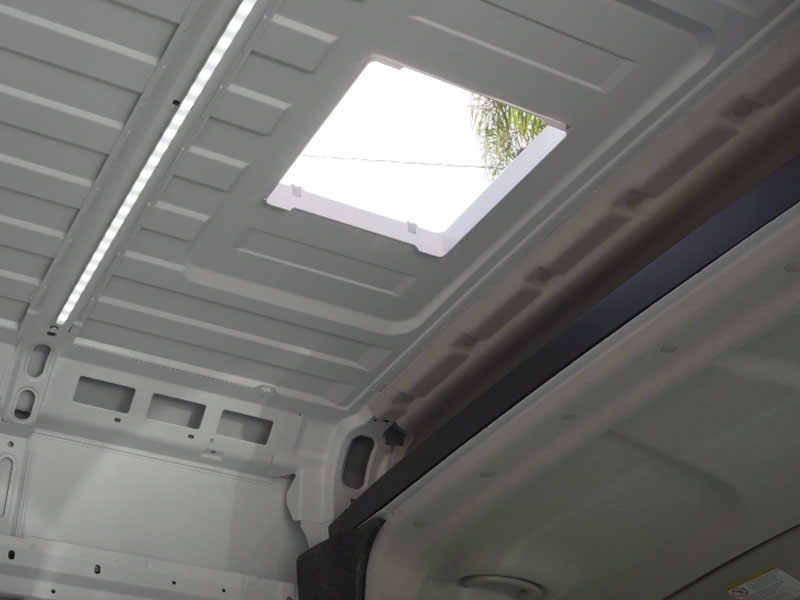
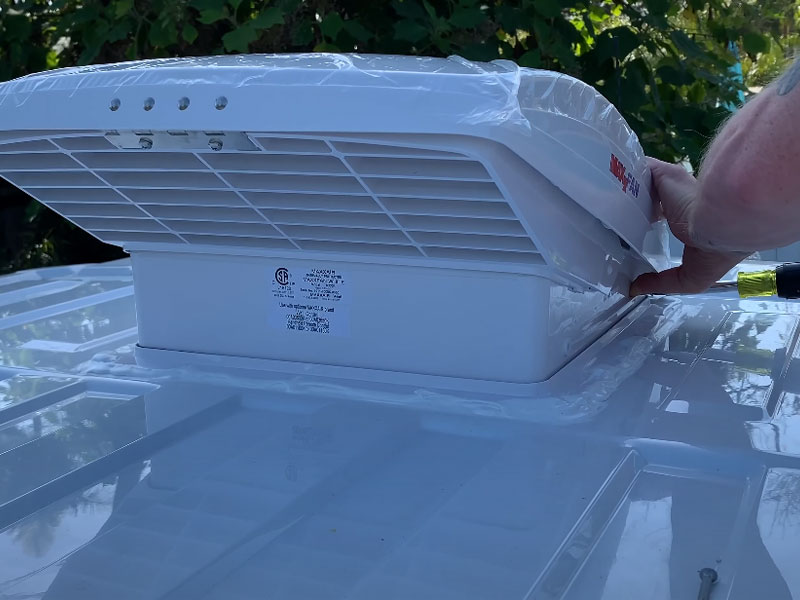
14] Drop the fan in, make sure the wires go in first.
15] Using the screws provides, attach the fan to the frame. You may have to push down on the fan to get the holes to line up with the frame.
16] Clean up all of the metal shavings. If you don’t, you will end up with rust spots everywhere!
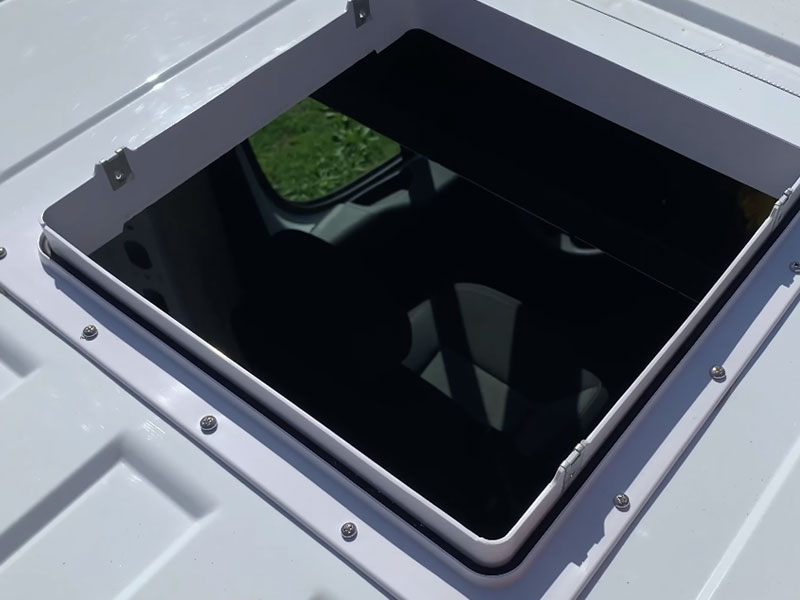
17] Spray water around your fan to make sure that all of your cracks/holes are sealed up.
Good luck and let me know if you have questions. The next project I’ll be tackling is installing a CR Laurence window in the passenger sliding door.